Water damage can turn your comfortable home into a breeding ground for mold and mildew. When carpets get soaked from flooding, burst pipes, or other water incidents, you need to act fast. Learning how to pull up carpet to dry is essential for preventing long-term damage to your flooring and protecting your family’s health.
This comprehensive guide walks you through the entire process, from identifying water damage to deciding whether your carpet can be saved. Whether you’re dealing with a small leak or major flooding, these steps will help you tackle the situation effectively and minimize costly repairs.
The key to success lies in moving quickly and drying thoroughly. Water-damaged carpet that sits wet for more than 24-48 hours significantly increases your risk of mold growth, which can lead to serious health issues and expensive remediation costs.
Why You Might Need to Pull Up Carpet to Dry
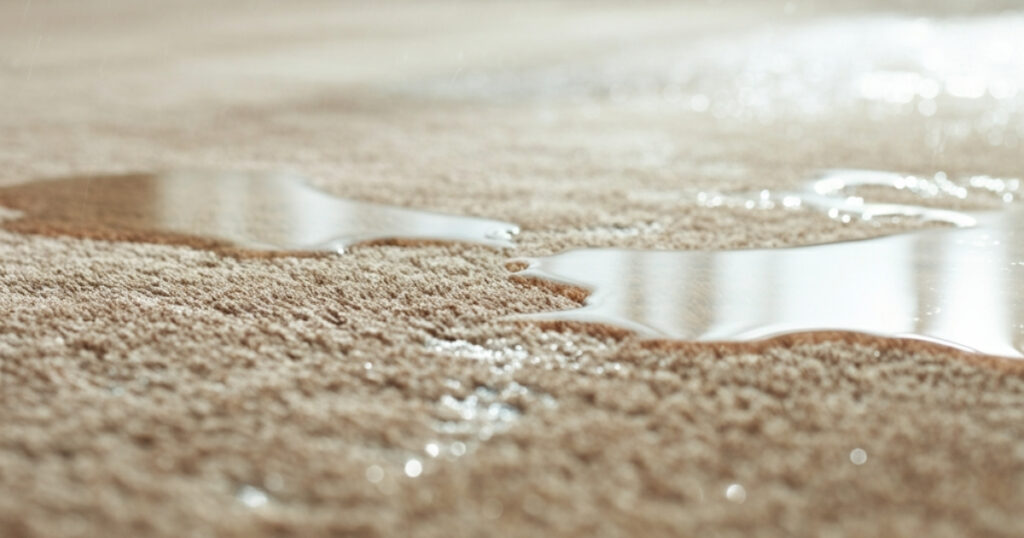
Water doesn’t just affect the surface of your carpet. It penetrates deep into the fibers, soaks the padding underneath, and can even reach your subfloor. Simply using a wet vacuum on the surface won’t solve the problem.
Prevent Mold and Mildew Growth
Mold thrives in dark, damp environments. Once water gets trapped under your carpet, it creates perfect conditions for mold spores to multiply rapidly. Pulling up carpet allows air circulation to reach all affected areas, disrupting the mold-friendly environment.
Dry Soaked Padding and Subfloor
Carpet padding acts like a sponge, absorbing and holding water long after the surface appears dry. Similarly, wooden subfloors can warp, rot, or develop mold if moisture remains trapped. Accessing these hidden areas is crucial for complete drying.
Read Next: Carpet Flood Water Removal & Drying
Avoid Long-term Damage and Odors
Wet carpet that doesn’t dry properly develops persistent musty odors that are nearly impossible to eliminate. Additionally, prolonged moisture exposure can cause carpet backing to deteriorate, making the flooring unsafe and unsanitary.
Improve Airflow and Drying Efficiency
Lifting carpet creates space for air to circulate underneath, dramatically improving drying times. This enhanced airflow helps prevent secondary water damage to adjacent areas and reduces the overall humidity in your home.
How to Pull Up Carpet to Dry (Step-by-Step Guide)
Following the proper sequence ensures you don’t damage your carpet unnecessarily and maximizes your chances of successful restoration.
Step 1: Identify Water-Damaged Areas
Start by thoroughly inspecting your carpet for signs of water damage. Look for obvious wet spots, but also check for areas that feel spongy underfoot or have a different color or texture. Use your hands to feel for dampness, as water can spread beyond what’s visible on the surface.
Pay special attention to areas near walls, under furniture, and around doorways where water tends to accumulate. Mark these areas with tape or take photos to help you remember which sections need the most attention.
Step 2: Remove Furniture and Clear the Space
Move all furniture and belongings out of the water-damaged area. If items are too heavy to move completely, place aluminum foil or plastic blocks under furniture legs to prevent further water absorption and staining.
Clear the entire space to give yourself room to work safely and efficiently. This also prevents you from accidentally damaging furniture or other items during the carpet removal process.
Step 3: Use Pliers to Detach Carpet from Tack Strips
Locate the edge of your carpet along the wall and use needle-nose pliers to grip the carpet firmly. Pull straight up to detach it from the tack strips that hold it in place around the room’s perimeter.
Work slowly and methodically around the edges. The tack strips have sharp nails that can tear the carpet if you pull too aggressively. If you encounter resistance, check for additional staples or nails that may need removal.
Read Next: Wet Carpet Not Drying?
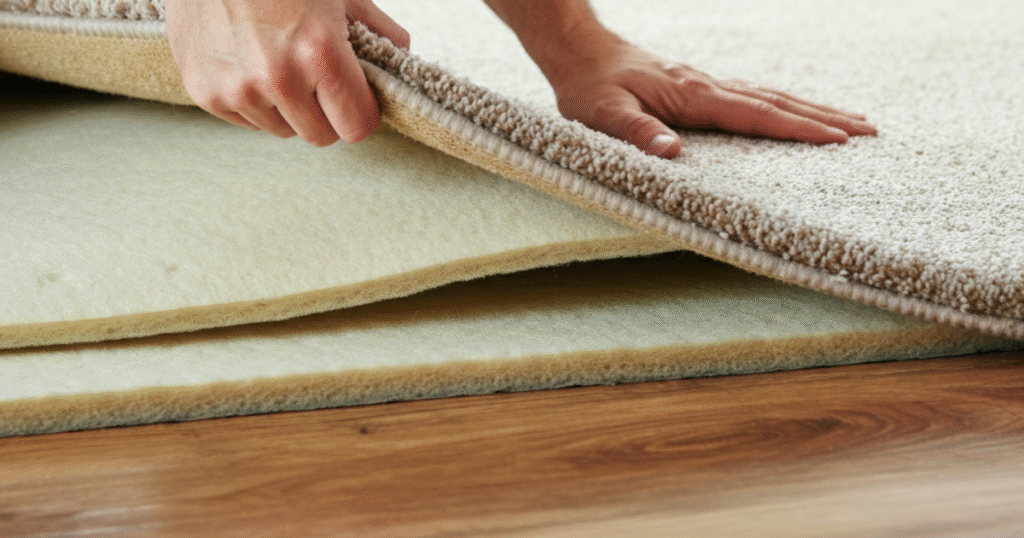
Step 4: Roll Back Carpet Carefully
Once detached from the tack strips, carefully roll the carpet back toward the center of the room. This exposes the padding and subfloor underneath while keeping the carpet in manageable sections.
Roll rather than fold to prevent permanent creases that could damage the carpet backing. If the carpet is extremely heavy with water, you may need to work in smaller sections to avoid injury.
Step 5: Remove and Inspect Padding
Carpet padding is usually held down with staples. Use a pry bar or staple remover to carefully lift the padding from the subfloor. Inspect both the padding and the exposed subfloor for signs of damage, mold, or persistent moisture.
Damaged padding typically needs replacement, as it’s difficult to clean thoroughly and dries slowly. Set aside any padding that appears salvageable for cleaning and drying separately.
Read Next: Carpet Cleaning and Water Damage
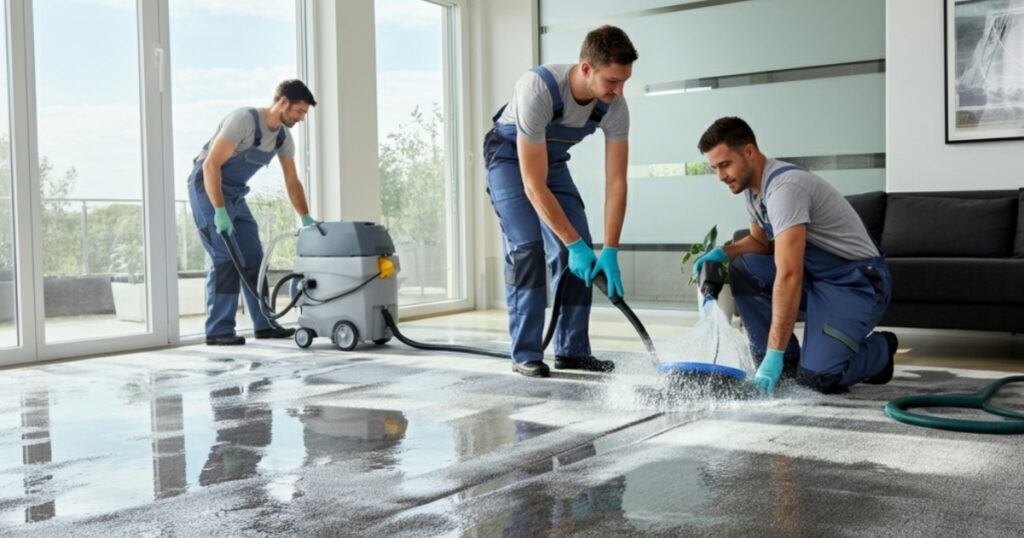
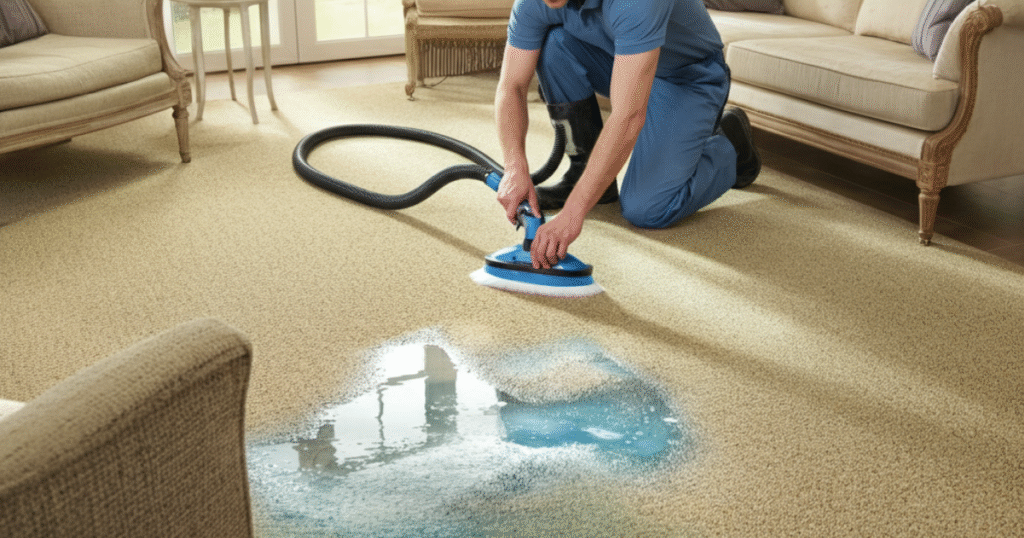
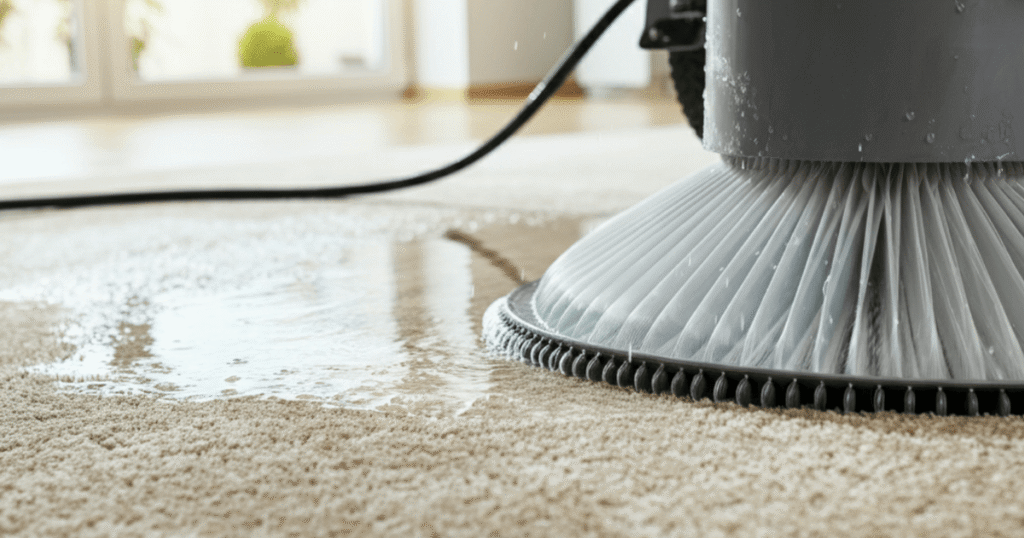
Step 6: Dry Carpet, Padding, and Subfloor with Fans and Dehumidifiers
Set up multiple fans to create cross-ventilation and direct airflow across all wet surfaces. Position dehumidifiers strategically to remove excess moisture from the air. The goal is to achieve complete drying within 24-48 hours.
Check progress regularly by feeling for dampness and monitoring humidity levels. Continue the drying process until everything feels completely dry to the touch and humidity levels return to normal (30-50% relative humidity).
Step 7: Reinstall or Replace Carpet and Padding
Once everything is completely dry, inspect all materials carefully before reinstalling. Replace any padding that shows signs of mold, persistent odors, or deterioration. Clean the carpet thoroughly before putting it back in place.
Reinstall the padding first, securing it with staples. Then stretch the carpet back into position and reattach it to the tack strips. Take your time to ensure proper tension and alignment.
Read Next: Water Damage Carpet Drying
Tools & Safety Tips for Pulling Up Carpet
Having the right tools makes the job safer and more efficient. Gather everything you need before starting to avoid interruptions during the drying process.
Essential Tools
Pliers: Needle-nose pliers work best for gripping carpet edges and removing staples. Keep multiple pairs handy in case one breaks.
Utility Knife: A sharp blade helps cut through carpet and padding when necessary. Replace blades frequently for clean cuts.
Work Gloves: Protect your hands from tack strips, staples, and rough carpet backing. Choose gloves that provide good grip while maintaining dexterity.
Pry Bar: Essential for removing stubborn staples and lifting padding. A small pry bar offers better control in tight spaces.
Read Next: Dry Basement Carpet
Safety Considerations
Always wear a mask when working with water-damaged carpet, especially if you suspect mold growth. N95 masks provide adequate protection for most situations, but consider upgrading to a P100 mask for severe contamination.
Take photographs of the damage before starting work. These images can be valuable for insurance claims and help you remember the original carpet layout during reinstallation.
Work in well-ventilated areas and take regular breaks. The physical demands of carpet removal combined with potential mold exposure can be exhausting and unhealthy if you push too hard.
Read Next: Carpet Cleaning After a Flood
When to Replace vs. Reinstall Carpet
Not every water-damaged carpet can be saved. Knowing when to replace rather than restore prevents wasting time and money on unsalvageable materials.
Signs of Mold or Mildew
Visible mold growth, musty odors, or black spots on carpet backing indicate serious contamination that’s difficult to eliminate completely. Professional remediation might be possible, but replacement is often more cost-effective and safer.
Even if mold isn’t visible, trust your nose. Persistent musty smells suggest hidden contamination that could pose health risks to your family.
Damage to Carpet Backing or Padding
Carpet backing that’s delaminating, cracking, or falling apart has lost its structural integrity. This type of damage makes the carpet unsafe to walk on and impossible to reinstall properly.
Similarly, padding that remains compressed, smells sour, or shows signs of mold should be replaced rather than cleaned. Quality padding is relatively inexpensive compared to the cost of dealing with mold problems later.
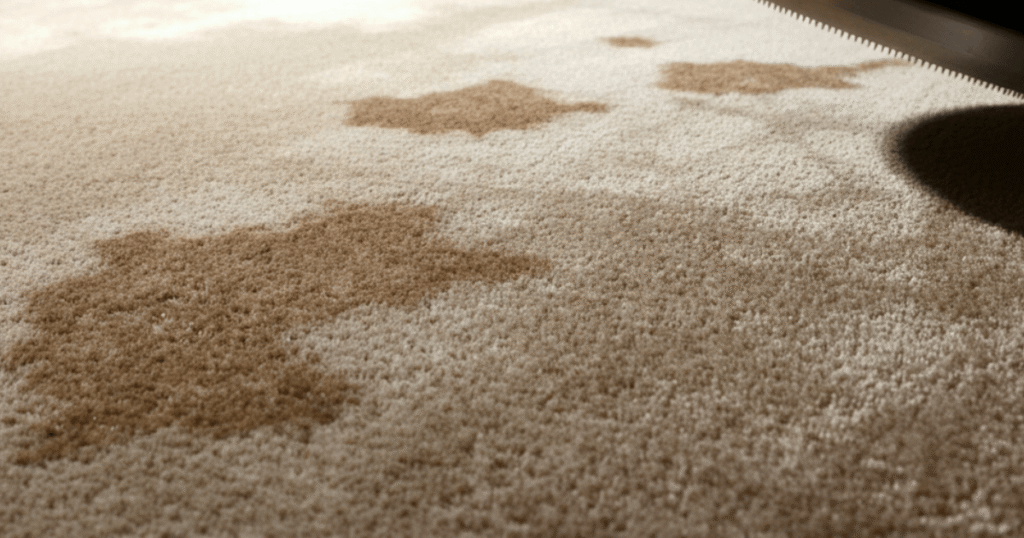
Persistent Odors or Discoloration
Professional carpet cleaning can address many water damage issues, but some odors and stains are permanent. If cleaning doesn’t eliminate the problem, replacement becomes the only viable option.
Brown or black water damage (from sewage or contaminated sources) almost always requires replacement due to health concerns and the difficulty of achieving proper sanitation.
Age and Condition of Carpet
Older carpet that was already showing wear before water damage may not be worth saving. The stress of removal and reinstallation can worsen existing problems, and the final result may be disappointing.
Consider this an opportunity to upgrade to newer, more water-resistant flooring options that will be easier to maintain and less susceptible to future water damage.
Taking Action to Protect Your Home and Health
Acting quickly when water damages your carpet makes the difference between minor inconvenience and major renovation. The process of pulling up carpet to dry requires effort, but it’s manageable with the right approach and tools.
Remember that thorough drying is more important than speed. Rushing the process or cutting corners increases your risk of mold problems that could affect your family’s health and your home’s value. When in doubt, consult with water damage restoration professionals who can assess the situation and recommend the best course of action.
The investment in proper drying techniques pays dividends in preserved flooring, avoided health issues, and peace of mind. Your home deserves the attention necessary to maintain a safe, comfortable environment for years to come.
Frequently Asked Questions
How long does it take to dry carpet after pulling it up?
Typically 24-48 hours with proper airflow and dehumidification. Thick carpet or humid conditions may extend drying time to 72 hours.
Can I reuse the same carpet padding after water damage?
No, water-damaged padding should be replaced. It retains moisture and odors, creating conditions for mold growth even after apparent drying.
What if the subfloor is still wet?
Continue drying with fans and dehumidifiers until completely dry. Wet subfloors can warp or develop mold, so don’t reinstall carpet until moisture is eliminated.
Is it safe to pull up carpet myself?
Yes, for clean water damage. Wear protective gear and work carefully around tack strips. Call professionals for sewage contamination or extensive mold growth.
Do I need professional help to reinstall carpet?
Not necessarily. Reinstallation is manageable for DIYers with basic tools, though professional installation ensures proper stretching and appearance.
As an Amazon Associate, I earn from qualifying purchases.